How to Finish a Polymer80 Frame
How to Finish a Polymer80 Frame
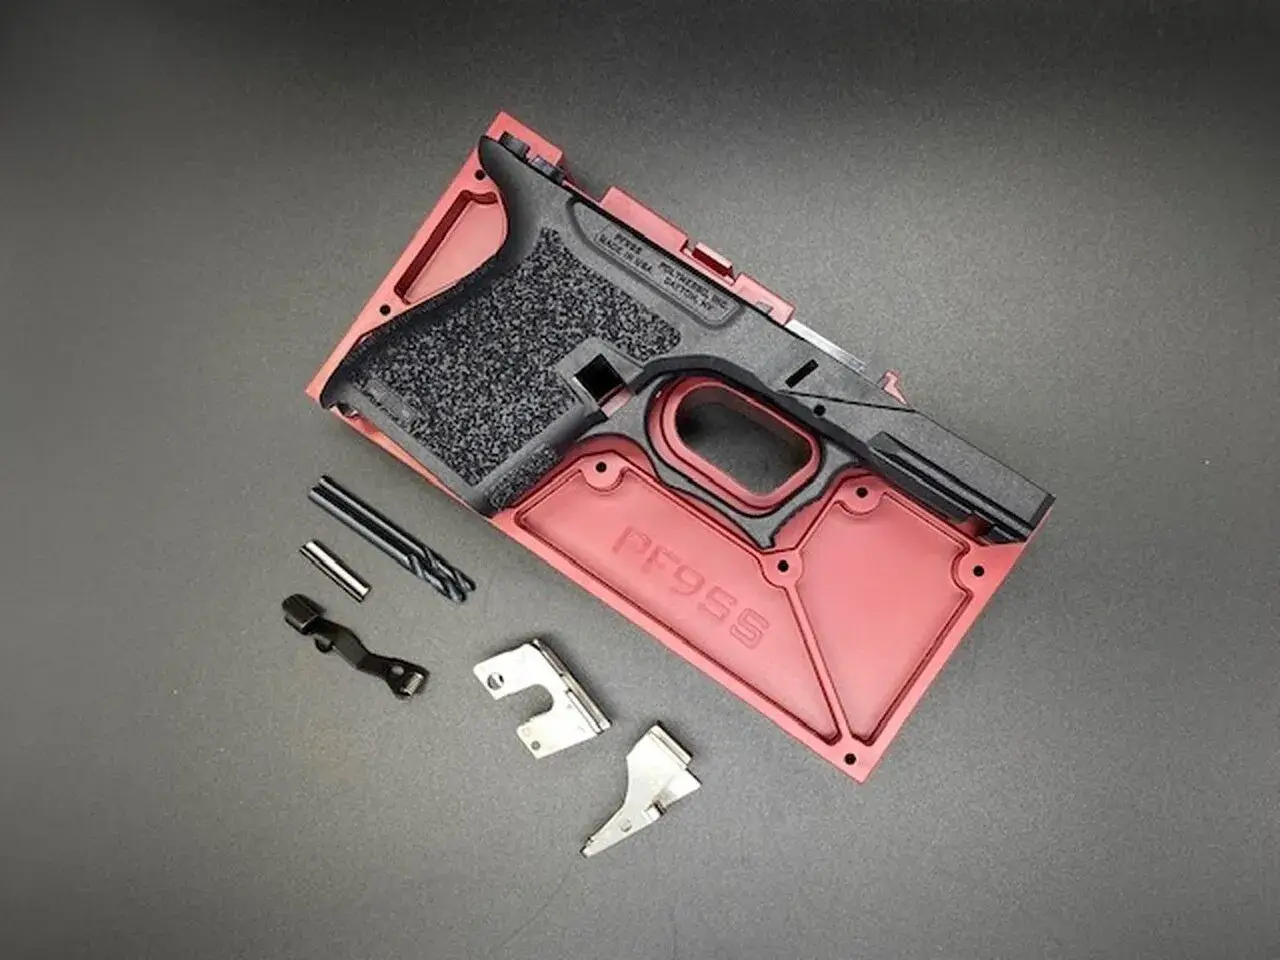
You’ve got a raw Polymer80 PF940 frame on your bench. The jig is there, the drill bits are ready, but that block of polymer in the rear rail pocket is staring back at you. Finishing that frame correctly isn’t just about making holes; it’s about precise material removal for a reliable, drop-in fit of your locking block and rear rail module. Get it wrong, and you’ll have function issues. Get it right, and you’ll have a solid foundation for your build. Here’s how to do it right the first time.
Essential Tools for the Job
You cannot finish a P80 frame with a pocket knife and hope. The right tools are non-negotiable for a clean, in-spec result. You absolutely need the included Polymer80 jig—it’s serialized and critical for correct hole alignment. For drilling, a hand drill or drill press works, but you must use sharp, high-speed steel or cobalt bits. The 3mm and 4mm bits included in most kits are the minimum. For removing the polymer tabs and channel material, a set of quality end-cutting nippers, a set of small files (flat, round, and half-round), and 80-grit to 220-grit sandpaper are essential. A hobby vise to secure the jig is highly recommended. Some builders opt for a Dremel rotary tool with a cutting wheel and sanding drum for the channel, but hand tools offer more control for beginners. Having a bright work light and a shop vacuum handy will make the process cleaner.
Drilling the Pin Holes: Precision is Key
This is the most critical step for frame alignment. Secure the jig completely with the provided bolts. Do not force the frame into the jig; it should close snugly. Using your 3mm bit, drill the two rear rail holes (marked “R”) through one side of the jig, then flip it and drill through the opposite side to ensure a clean, straight hole. Repeat the process with the 4mm bit for the front locking block pin hole (marked “F”) and the trigger pin hole. Always drill perpendicular to the jig surface. A common mistake is drilling all the way through from one side, which can cause misalignment and burring. After drilling, use a deburring tool or a larger bit by hand to lightly chamfer the holes. This helps the pins slide in during assembly. Test-fit your rear rail module and front locking block. They should slide into the frame with firm hand pressure—if they don’t, your holes may be off.
Clearing the Rear Rail Cavity and Channel
Now for the polymer removal. The rear rail cavity has three polymer tabs that must be removed. Use your end-cutting nippers to carefully snip away the bulk of the tabs, staying just above the floor of the cavity. Then, use your flat file to slowly file the remaining material down until it is perfectly flush with the cavity floor. The goal is a flat, level surface for the rear rail module to sit on. Next is the recoil spring channel. This is the arched channel in front of the locking block area. You must remove all polymer in this channel to allow the recoil spring to travel freely. Use a round file or a Dremel sanding drum to clear it out, constantly test-fitting your recoil spring assembly. The channel must be smooth, with no ridges or obstructions. A high round in the channel is a leading cause of failure to return to battery.
Final Smoothing and Test Fitting
With the major milling done, it’s time for finishing. Go over all the areas you’ve worked with 120-grit sandpaper to remove tool marks and rough edges, then progress to 220-grit for a smooth finish. Pay special attention to the inside edges of the pin holes and the entire recoil spring channel. A polished channel reduces friction. Now, perform a complete dry-fit assembly without the slide. Install the rear rail module, locking block, and all pins. The pins should tap in with a plastic punch and hammer, not force. The rails should be parallel and level. Insert your slide completion kit—barrel and recoil spring—into the frame alone to ensure the spring moves freely in its channel. Finally, rack the slide on the rails several times; it should move smoothly. If anything binds, identify the high spot and address it with your files. Only when the frame passes this test should you proceed to the full assembly.
How to finish a polymer 80 frame
Finishing a Polymer80 frame involves using the provided jig to drill the 3mm and 4mm pin holes accurately, then removing the polymer tabs in the rear rail cavity and clearing the recoil spring channel with hand files or a rotary tool. The goal is to create flat, flush surfaces for the rails and a smooth, unobstructed channel for the recoil spring. Final smoothing with sandpaper and a complete dry-fit test of all parts is mandatory before final assembly.
How to complete polymer 80 frame
Completing a Polymer80 frame refers to the entire process of milling the raw frame and assembling it with a slide parts kit and lower parts kit. After finishing the frame as described, you must install the trigger mechanism, pins, springs, magazine catch, and slide stop lever from a lower parts kit, then mate it with a fully assembled slide. Sourcing quality, in-spec parts from a trusted supplier like P80Complete is critical for a reliable build.
What is a polymer 80 frame
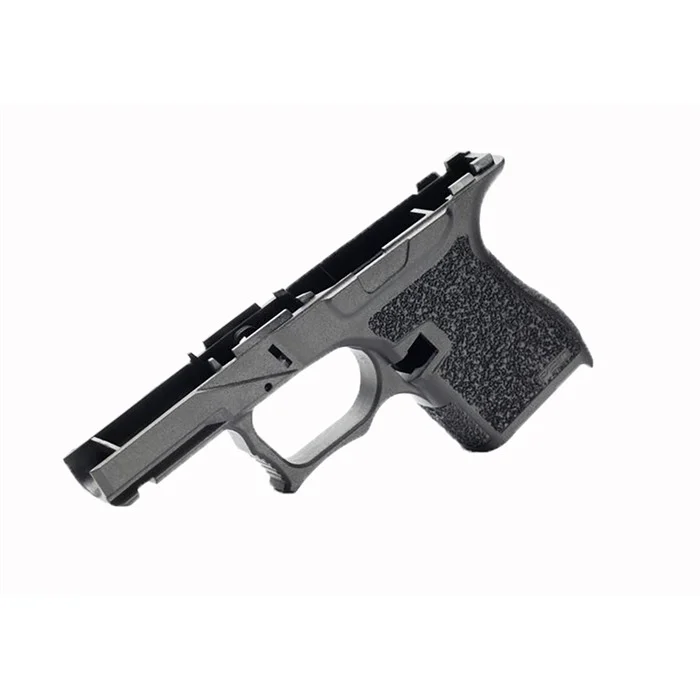
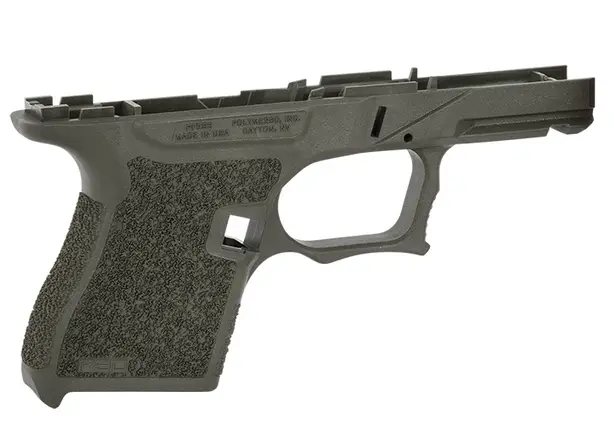
A Polymer80 frame is an unfinished firearm receiver, often called an “80% frame,” made from reinforced polymer. It is not a firearm under federal law until the end user completes the manufacturing process by drilling holes and milling specific areas. Popular models include the PF940v2 for full-size Glock 17/22 patterns and the PF940SC for subcompact Glock 26/27 patterns. They provide a platform for a custom pistol build.
Browse our polymer80 frames collection
Last updated: April 05, 2026